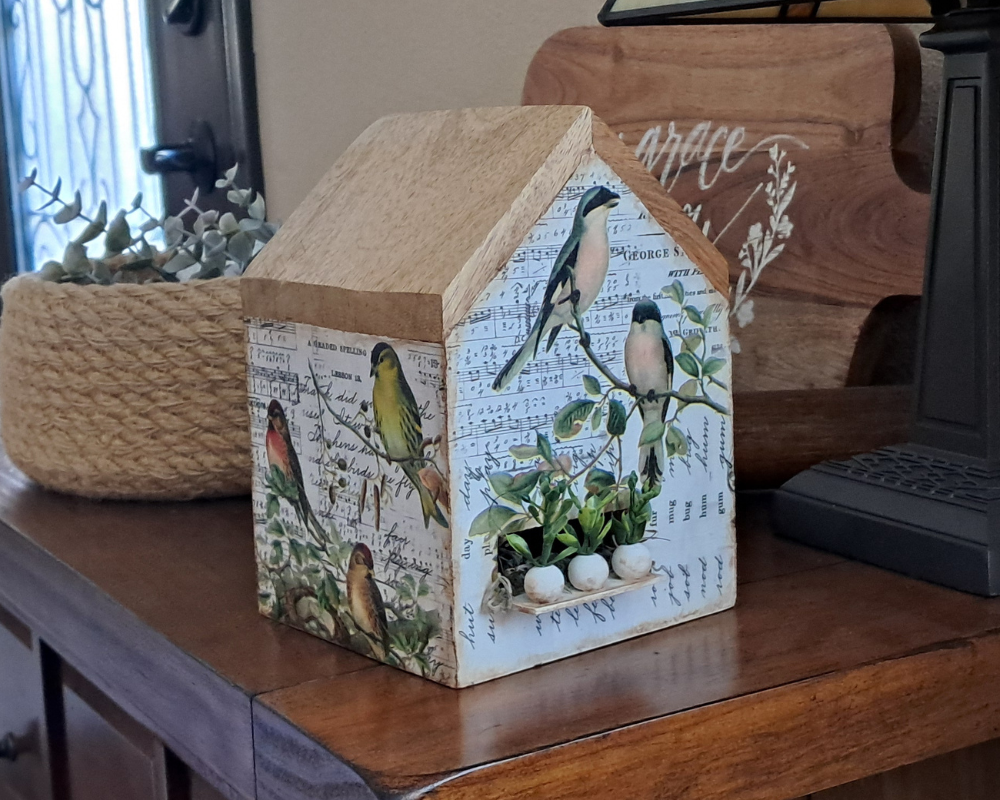
Decoupaged Wooden House – A Thrifty Makeover
I’m so glad you stopped by to check out this thrifty flip! When I saw a wooden house up for grabs in a local Facebook group, I was excited to snap it up. It was a blank slate begging for a makeover.
You can watch this fun project on this YouTube video, or continue reading all the details below.
SUPPLIES:
Wooden House, you can substitute any type of house you may have
Tim Holtz Aviary Collage Paper, Amazon
Wooden Beads (12mm), Amazon
Jumbo Craft Stick, Walmart
Folk Art Antiquing Wax, Amazon
Spanish Moss
Faux Greenery
Mod Podge
White Paint
Painters Tape
Toothpick
Wood Glue
Hot Glue
Tacky Glue
HOW-TO:
The house had a small rectangular window that I decided to add a planter shelf to. I began by measuring a giant craft stick to the window. I cut the stick using my heavy-duty scissors.
I then roughly cut the collage paper to the size I needed for the front of the house. I placed the paper on top of the front side, and carefully traced the window shape onto the paper using a pencil. I cut out the traced window on the paper.
I adhered the cut craft stick onto the window using some wood glue (for long term hold) and a drop of hot glue (for instant adhesion). Next, I attached three wood beads in a row onto the craft stick plant shelf using wood glue. I allowed the glue to dry overnight.
I then painted the house with one coat of white chalk paint, being careful not to paint the roof of the house. I wanted to keep the roof of the house the stained wood color. I painted the plant shelf and bead pots with the white paint as well.
Once the paint was completely dry, I placed the collage paper on top of the front of the house. I brushed Mod Podge onto the house, and little by little decoupaged the paper onto the house. When I completed one side of the house, I used sand paper to score and remove the excess paper along the edges. To remove the excess paper along the roof of the house, I ran a wet toothpick along the roof line to wet the paper and tear away the excess. I then did another side of the house, until the four sides were done. I added one coat of Mod Podge to all the sides to seal in the paper.
After the Mod Podge dried, I added Antiquing Wax with a soft brush along the edges of the house to add a distressed look. I brushed the Antiquing Wax onto the shelf and pots as well. I used a damp paper towel to wipe away any excess wax. To soften the look of the window, I added Spanish Moss behind the pots. For the finishing touch, I glued small stems of greenery into the wood bead pots with Tacky Glue.
I think this bird-embellished house is perfect for not just the Spring season, but all year long! What do you think of this thrifty flip? Do you have something in your craft stash that you want to decoupage? Go for it!