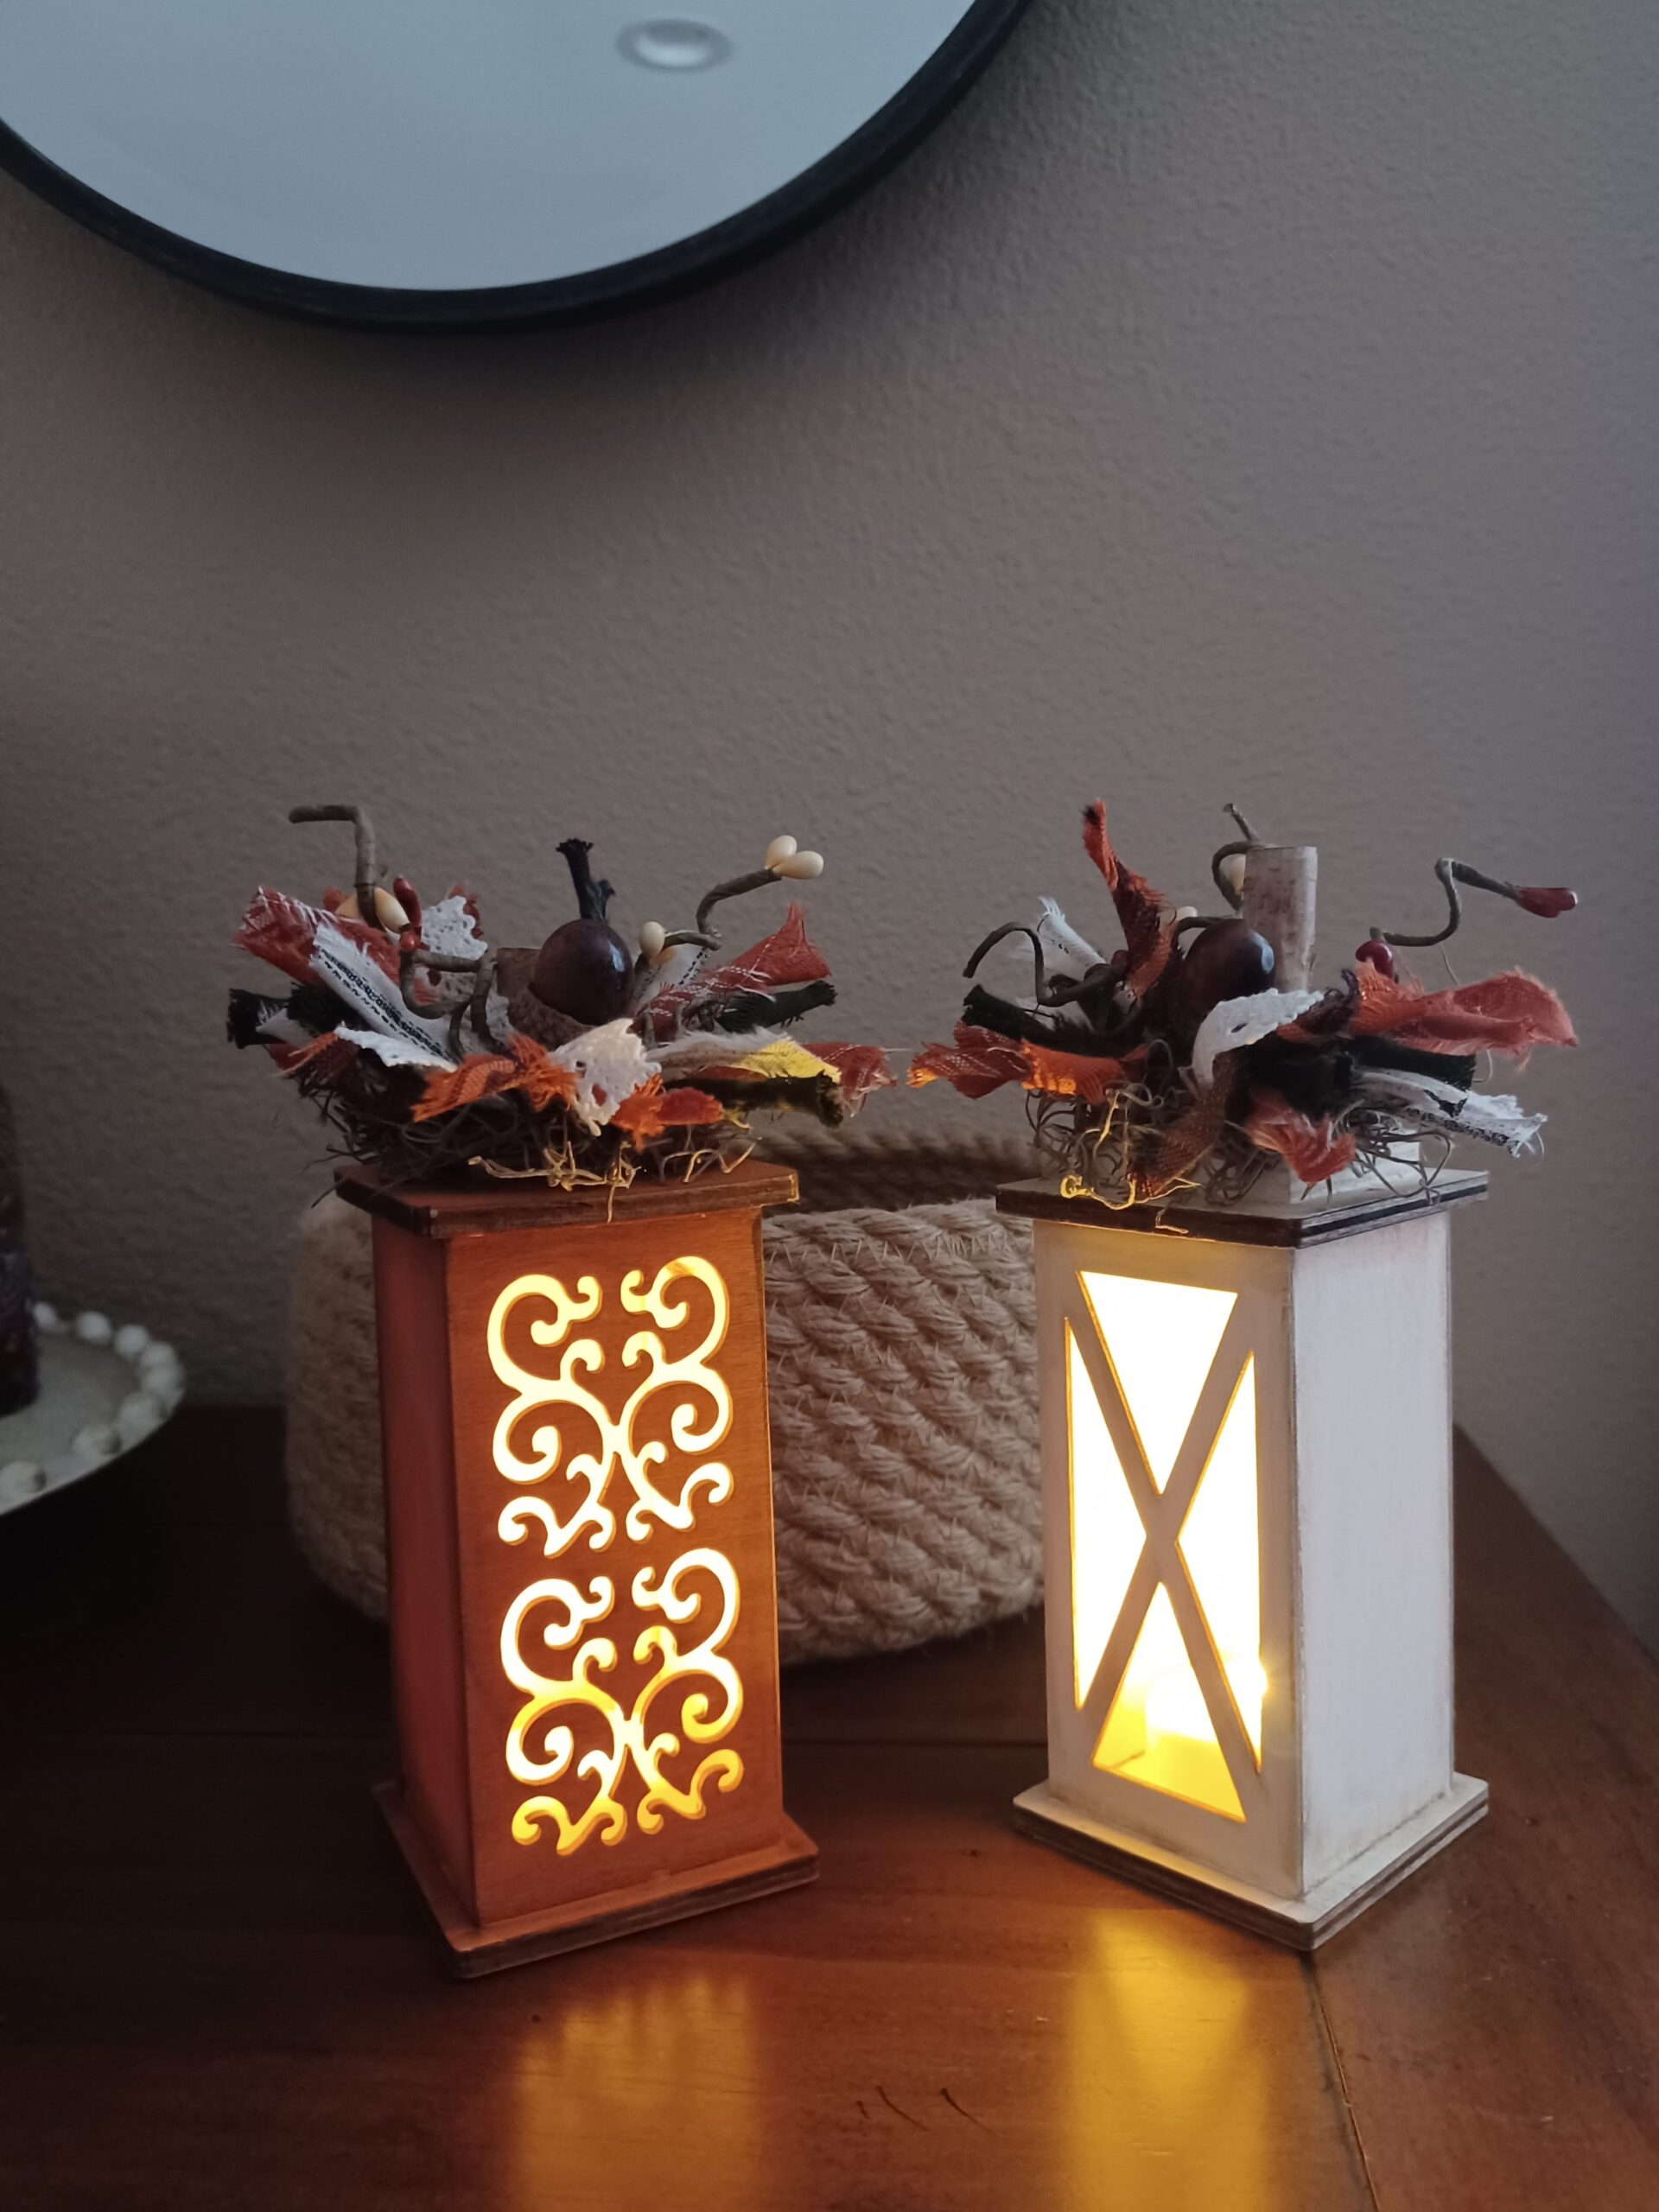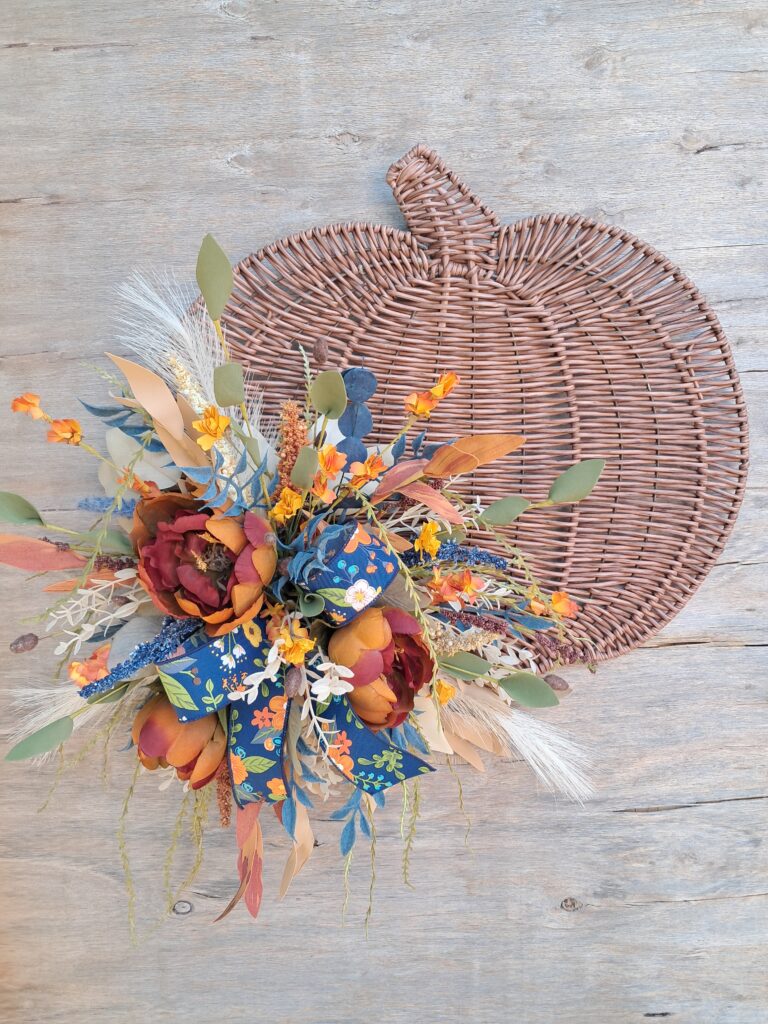
Pumpkin Luminaries
Pumpkins are a staple in fall home decor. Even more charming are light up pumpkins! These pumpkin luminaries are made from Dollar Tree mini lanterns and supplies you likely already have in your craft stash.
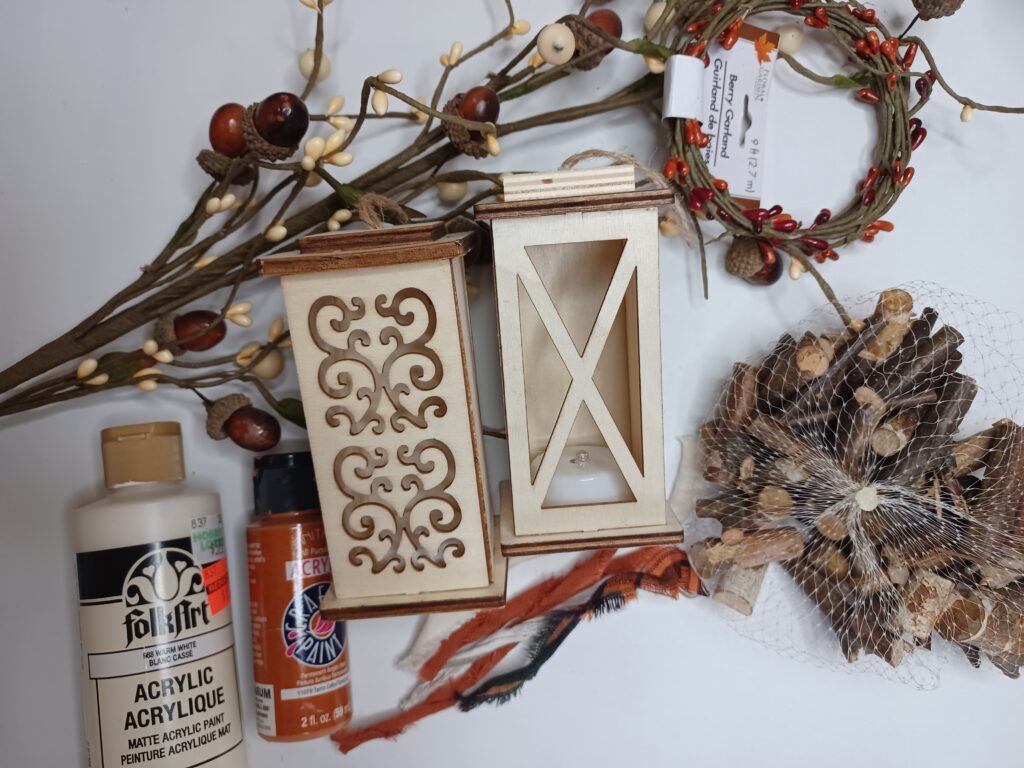
Supplies:
Mini wooden light up lanterns (Dollar Tree)
Acrylic paints (Anita’s Terracotta, Folk Art Warm White)
Antiquing wax (Folk Art)
Mini branches (Dollar Tree, or from your yard)
Pip berry garland (Dollar Tree)
Various fabrics (Hobby Lobby)
Lace trim (Dollar Tree)
Spanish moss (Michaels)
Fall acorn pick (Michaels)
Hot glue gun
Wood glue
How To:
A short video tutorial is linked here, or you can read through the written instructions below.

I began by painting the wooden lanterns, one in the warm white and one in the terracotta color. Each lantern required two coats of paint. Once the paint was dry, I added the antiquing wax around the edges to give the lanterns a distressed look. The wax was added with a soft brush, then the excess was wiped off with a damp paper towel.
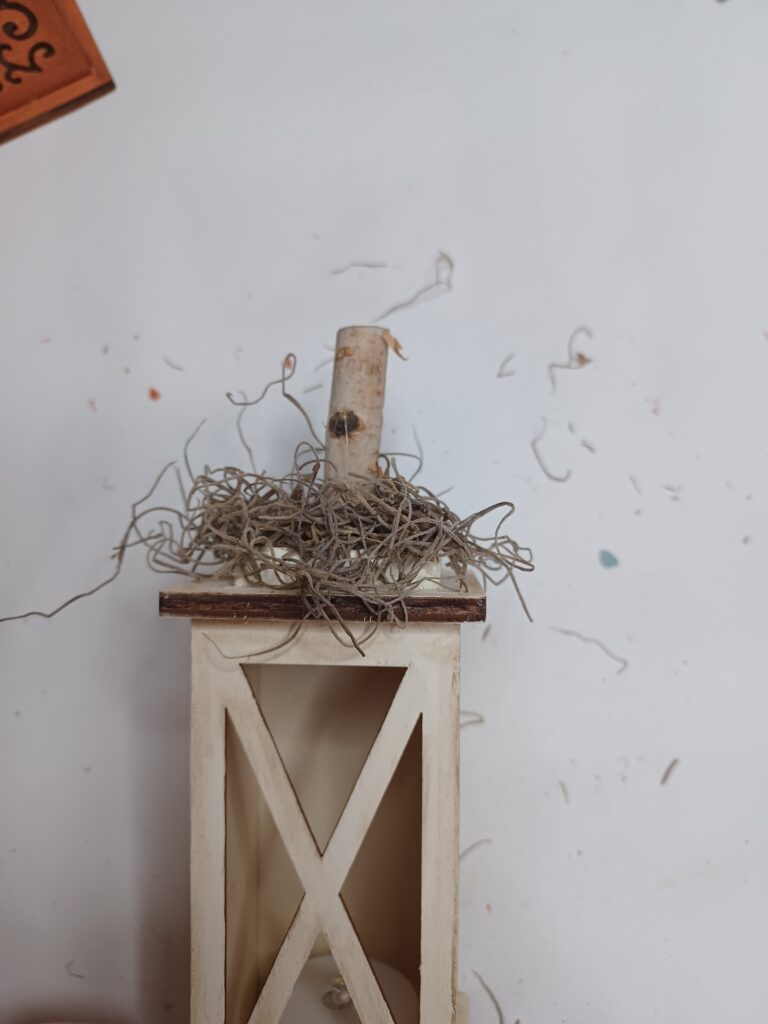
I then glued a mini branch to the top of each lantern using wood glue. The branch serves as the stem of the pumpkin. Using hot glue, I adhered Spanish moss to the top, around the stem.
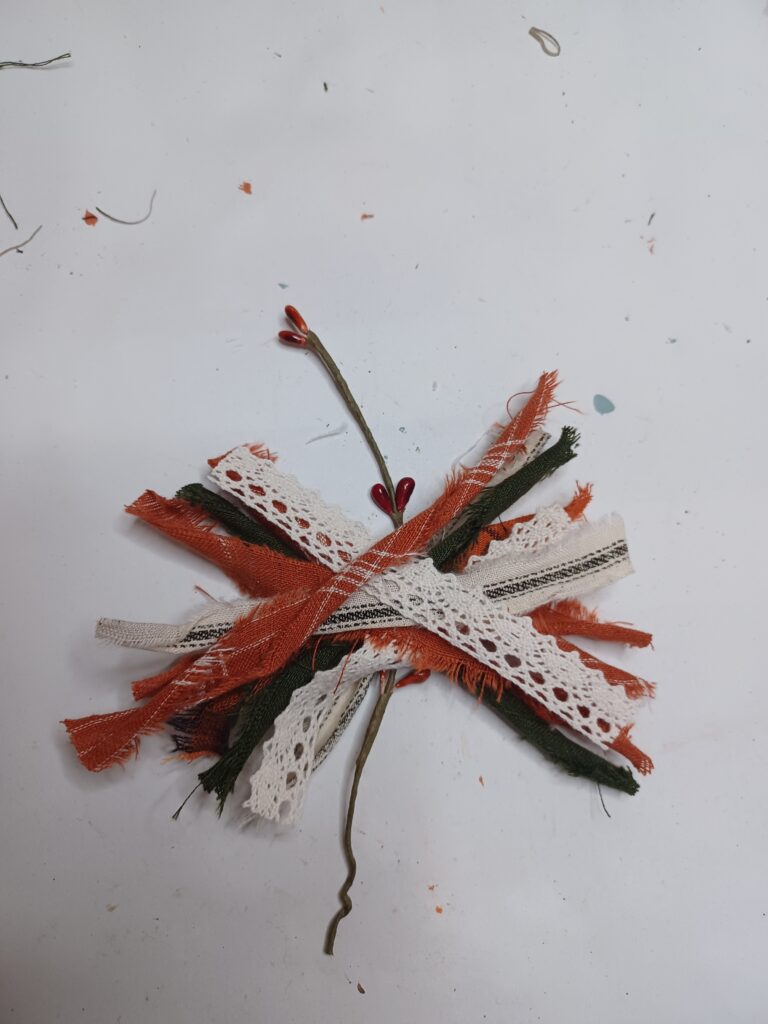
Using various fabrics in fall colors, I tore the fabrics into thin strips. I cut the strips and lace trim to approximately three inch pieces. To make a messy bow, I stacked the pieces in a criss-cross fashion. I cinched the pieces in the middle using the pip berry wire garland (cut about seven inches long).
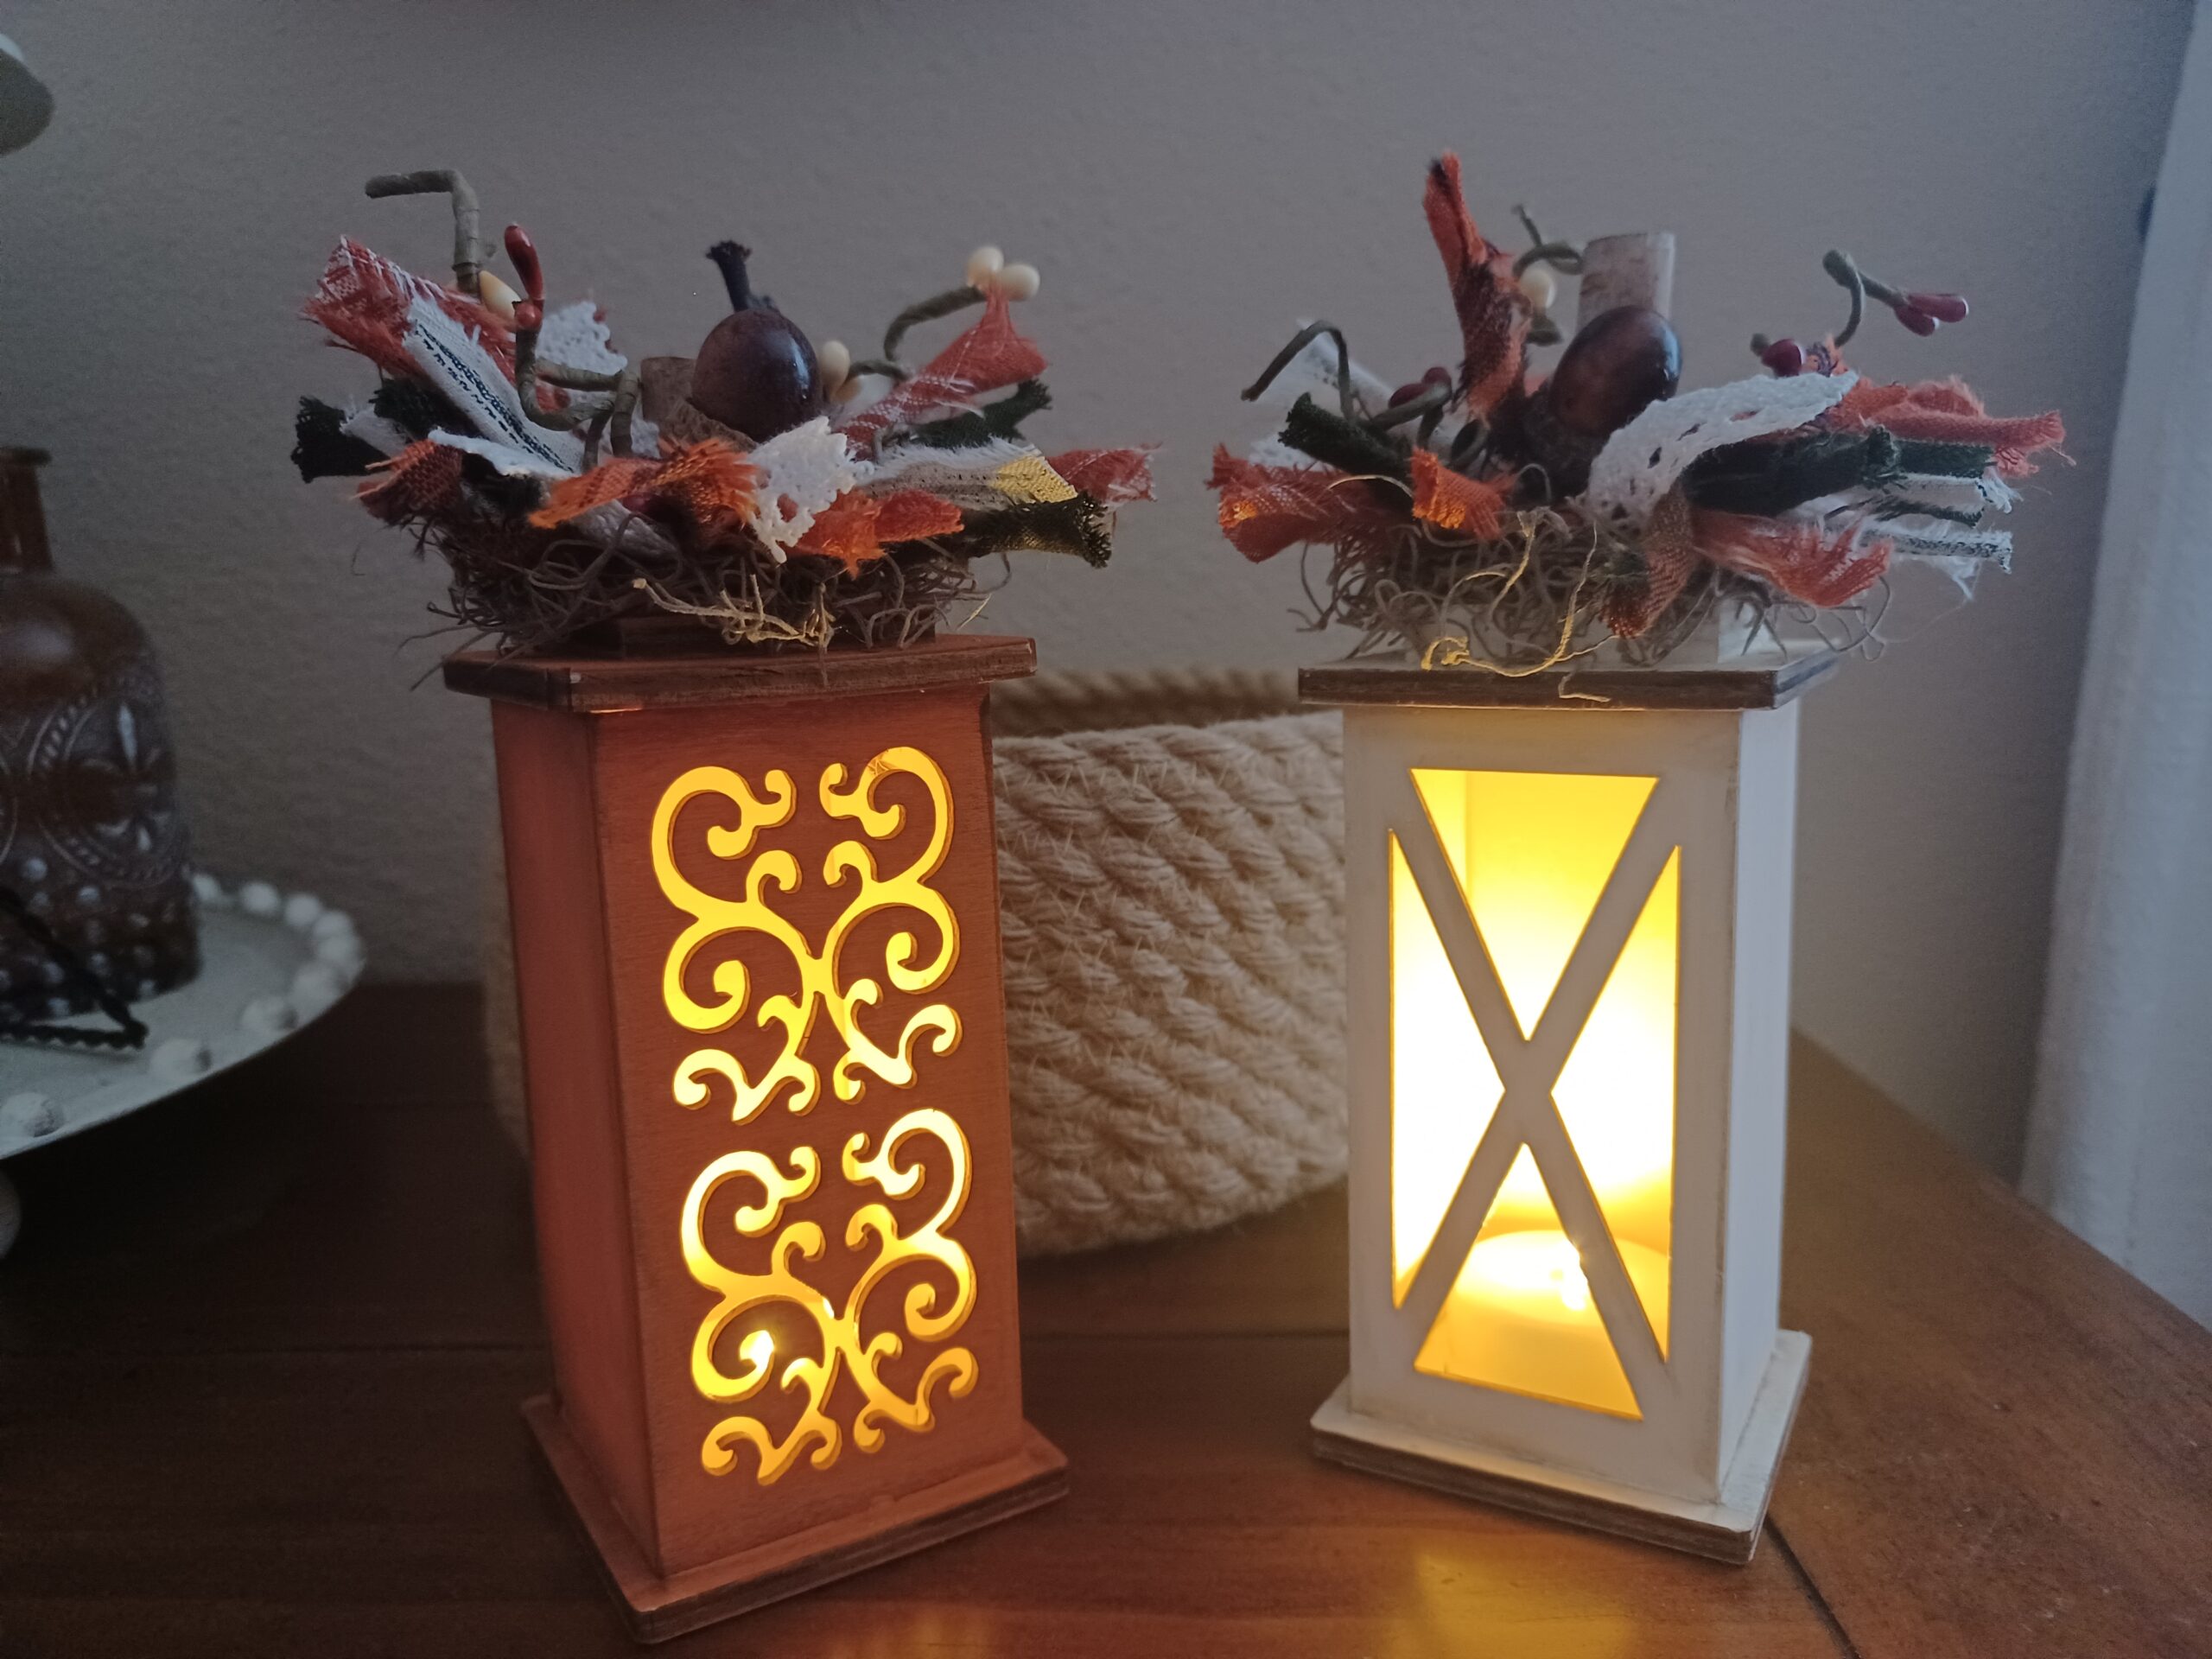
I used hot glue to attach the messy bow to the top of each pumpkin. I curled the berry wire with a paint brush to create tendrils. I cut two acorns from the fall pick to glue them to the center of each bow.
The pumpkin luminaries are now ready to light up and enjoy!